
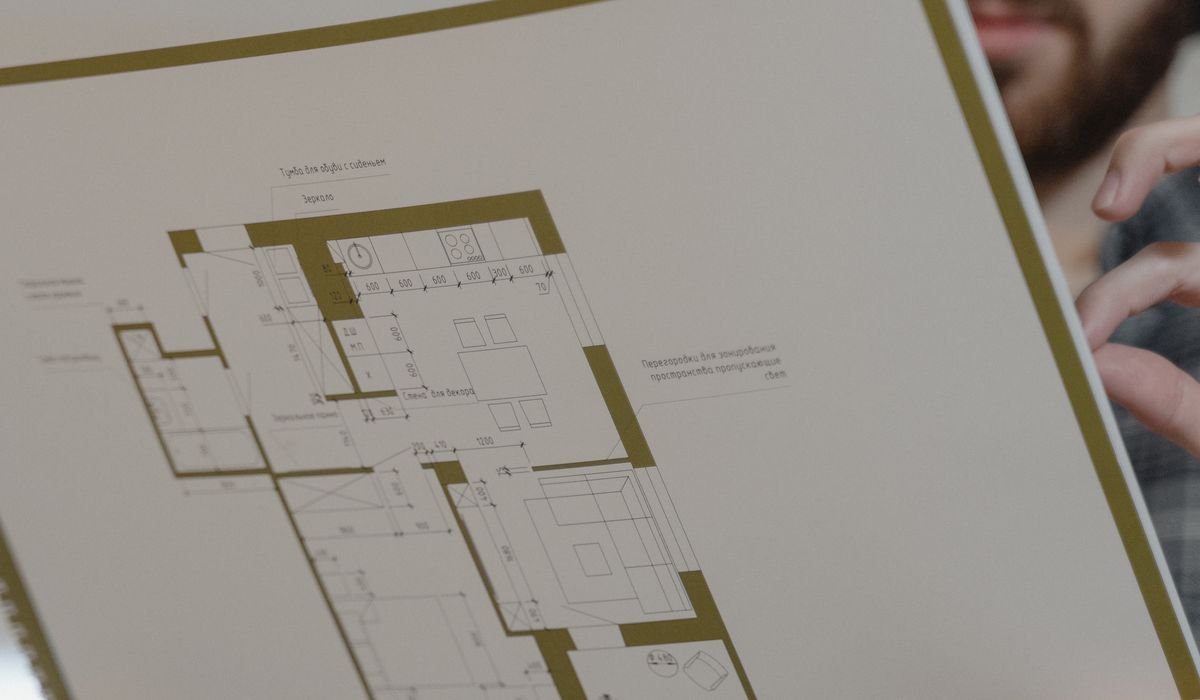
Designing a kitchen extension that works for family life
Start with how your family actually lives
Most kitchen extensions are designed around a photograph — a long island, a vaulted ceiling, a wall of glass. It is worth pausing on that, because the room that looks best in a magazine spread is not always the room that works at 7.30am on a Tuesday with three people trying to leave the house at once.
Before you brief anyone, spend a fortnight noticing what actually happens in your current kitchen. Where do school bags and coats land? Does anyone do homework at the table while you cook? How many people are in the room when it feels crowded? Do you batch-cook, bake, host, or mostly assemble things in a hurry? Write it down. These observations will settle more design arguments than any mood board, because they tell you which parts of the room need to be generous and which can be compact.
Zone the space before you choose anything
A single open room still needs structure. Think in zones: cooking, cleaning, socialising, working, and the messy business of coming and going. The most common mistake is leaving too little circulation space between them. As a rule of thumb, allow at least 1,000mm between an island and the run of units behind it, and closer to 1,100–1,200mm if someone will sit at the island or if it is the main route through the room.
- Keep the hob, sink and main prep area within a few steps of each other — an over-stretched work triangle means more pacing and more collisions.
- Leave at least 400mm of clear worktop on either side of a hob and next to the oven, so hot pans have somewhere to land.
- Put the dishwasher and bin near the sink, not at the far end of the room, or you will carry every plate across the floor.
- If the extension includes a seating or dining area, separate it slightly — a change in floor level, a different flooring material, or a run of tall units all read as a gentle boundary.
Storage that survives the school run
Family kitchens fail on storage long before they fail on style. Aim for a tall larder unit with internal drawers, and use deep pan drawers rather than base cupboards wherever you can — you will actually reach the back of them. A pull-out bin with separate compartments for recycling saves an enormous amount of daily irritation.
Then think about the edges of the room. A tall, shallow cupboard near the door makes a good appliance garage for the toaster, blender and air fryer, keeping worktops clear. If you have the space, a boot-and-coat area with hooks, a bench and a lidded basket per child will stop the hallway becoming a swamp. In a family of four, a dedicated utility area for laundry and drying is often more valuable than an extra half metre of island.
Make light work — and control the glare
Glazing is where extensions earn their money, but orientation matters far more than quantity. A south-facing wall of glass will turn a kitchen into a greenhouse in July; a north-facing one can feel flat and gloomy even at midday. Roof lanterns are lovely, but they let in less usable light than people expect, so position rooflights directly above worktops and sinks where light is actually needed.
Layer your lighting rather than relying on a grid of downlights: task lighting under wall units, dimmable pendants over the island, and a warm, low-level option for evenings. Underfloor heating is pleasant underfoot and frees up wall space, but add a separate heating circuit and a decent extractor, because cooking steam and drying laundry produce a lot of moisture. If the budget stretches, mechanical ventilation with heat recovery keeps an airtight extension fresh without losing warmth.
Choose surfaces that can take a beating
Worktops should be hard-wearing, repairable and forgiving of a hot pan. Quartz and solid surface are popular for good reason: non-porous, easy to wipe, and available in finishes that hide fingerprints far better than high-gloss. Laminate has improved enormously, and a textured, mid-tone finish will look newer for longer than a dark gloss.
For floors, porcelain tile is the toughest option but unforgiving to stand on and hard underfoot for children; luxury vinyl and engineered oak are warmer and quieter. And do not overlook the small stuff — mid-grey or warm-toned grout hides far more than brilliant white, and a stainless steel or composite sink in a 1.5 bowl layout copes with both a roasting tin and a baby bottle.
Plan the practicalities of the build
Most single-storey rear extensions fall within permitted development, but the rules on depth, height and boundary proximity are specific, and larger schemes need prior approval. Check with your local authority before you commit, and keep a certificate of lawfulness on file for when you sell.
Build in a contingency of around 10–20%, and expect structural work, drainage and party wall agreements to be the least predictable parts of the budget. Order glazing early — lead times can run to several months. Set up a temporary kitchen elsewhere in the house, and sequence the work so the family has at least one functioning sink and hob for as long as possible. A well-planned extension is a genuinely transformative thing; the trick is designing for the household you have, not the one in the brochure.
tag: Extensions

James Whitaker Author
Insulation, draught proofing and efficient heating can reduce bills while preserving the character of period properties across the country.
YOU MAY ALSO LIKE

How to improve energy efficiency in older homes
Sep 6
10Consider foundations, insulation, glazing and planning rules to build a comfortable garden studio that works in every season.
read more
Creating a garden room for year round use
Aug 31
10Explore different timber species, finishes and fixing methods to achieve a durable, low maintenance facade with lower environmental impact.
read morePlanning
-

ERRIC CATONA
Assess waterproofing, drainage, ceiling height and party wall matters before digging down to create extra living space underground.
May 19, 2016 at 5.12 pm
Reply
ERRIC CATONA
Match frame profiles, glazing bars and materials to your property's age while improving thermal performance and reducing outside noise.
May 19, 2016 at 5.12 pm
Reply -
ERRIC CATONA
Clear briefs, realistic budgets and early surveys help architects and homeowners collaborate effectively from concept through to completion on site.
May 19, 2016 at 5.12 pm
Reply
Extensions
Your email address will not be published.